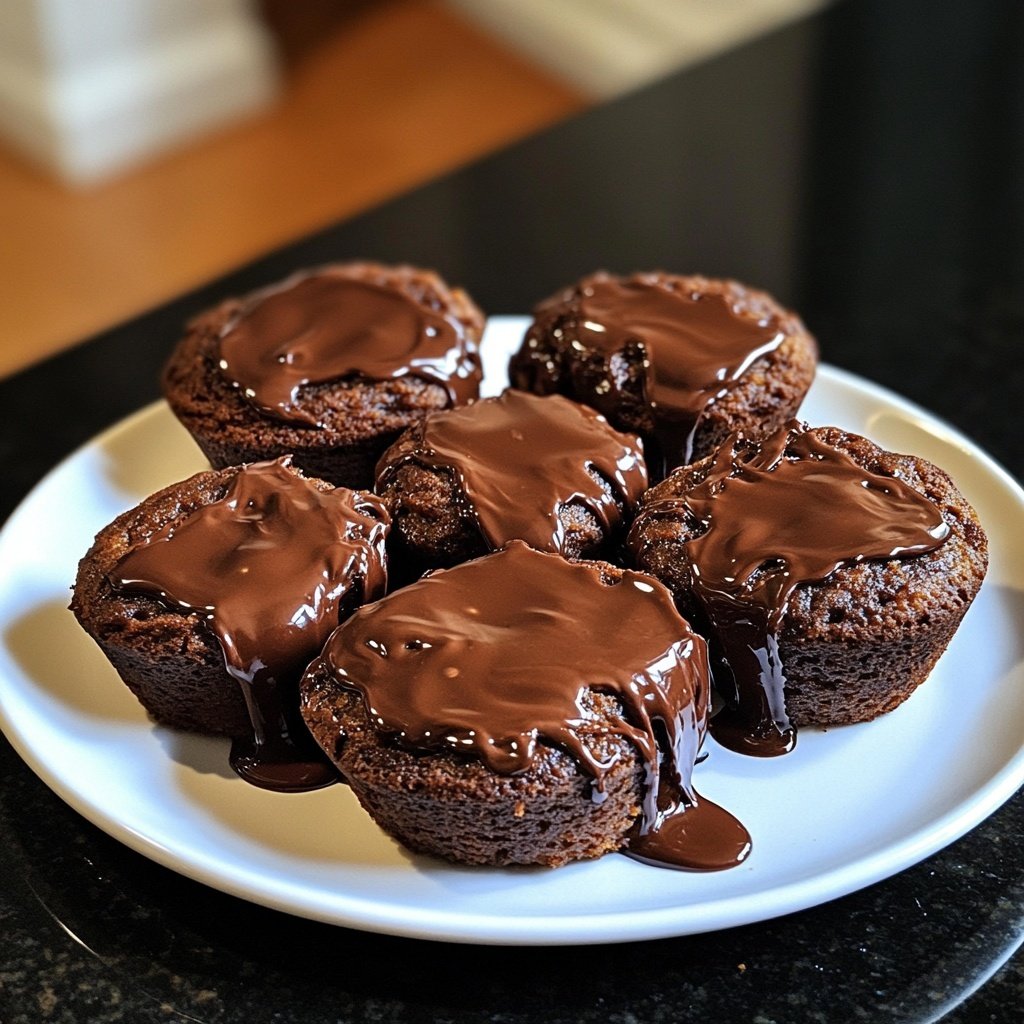
Dark Chocolate Lava Cakes
Highlighted under: Sweet Creations Co.
I absolutely love making Dark Chocolate Lava Cakes for special occasions or simply to indulge myself. The rich, gooey chocolate center is a delightful surprise, and the process of creating each cake is just as satisfying as the outcome. With only a handful of ingredients, I find these cakes to be incredibly rewarding. They bake quickly and can be easily prepared ahead of time. This recipe has become a go-to, and I’m excited to share it with you. Trust me, once you try them, you'll be hooked!
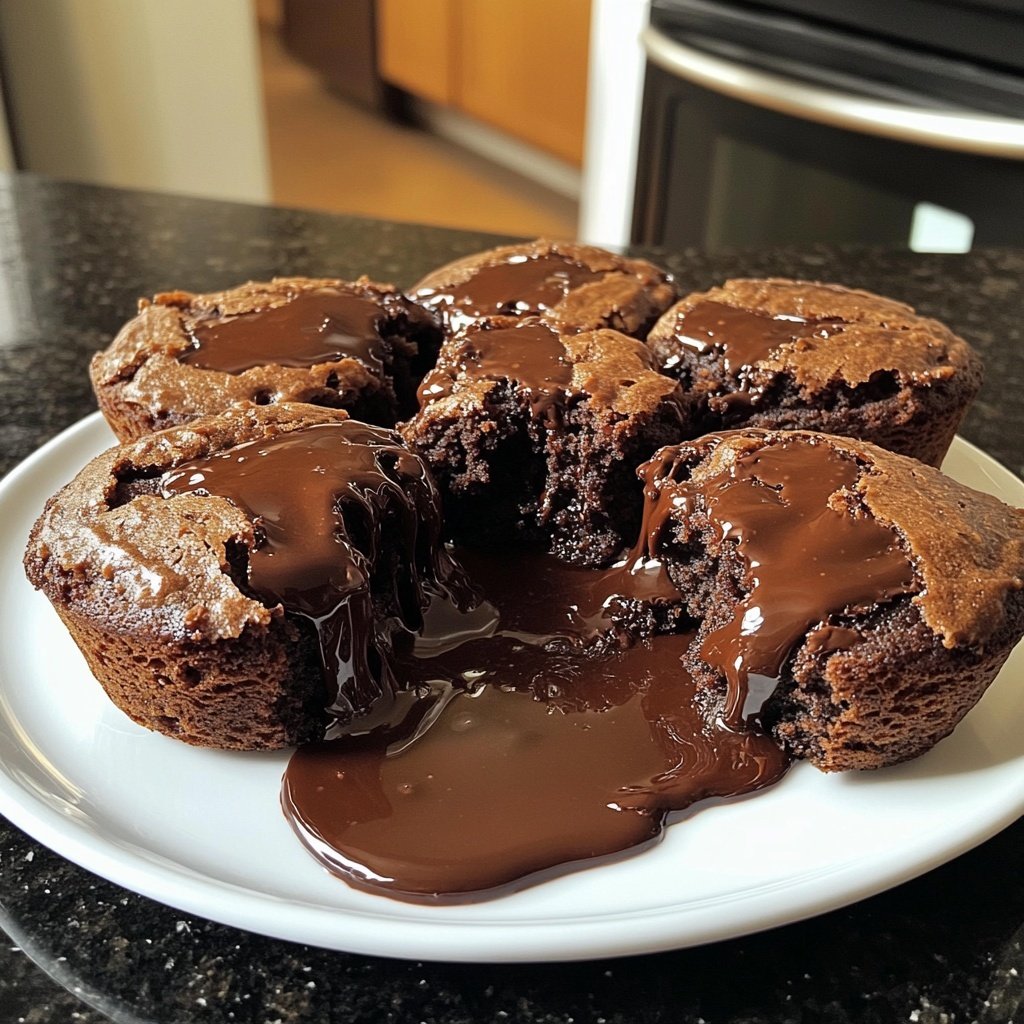
When I first attempted to make Dark Chocolate Lava Cakes, I was apprehensive. I had seen so many beautiful photos, but I wondered if I could achieve that same molten center. After a few trials, I realized the secret lies in timing the bake perfectly—just enough to set the edges while keeping the center gooey. My family was thrilled when I finally nailed it, and the smiles on their faces made the process worth it!
To add a personal touch, I often serve these cakes with a scoop of vanilla ice cream and a sprinkle of sea salt. The contrast of flavors and textures elevates the dessert to a whole new level. I also learned that letting them sit for a minute post-baking ensures they hold together when inverted onto the plate. Trust me; this is the dessert that will impress anyone!
Why You Will Love These Cakes
- Decadent dark chocolate flavor that satisfies any sweet tooth
- Gooey molten center that creates a delightful surprise
- Perfectly portioned for individual servings, great for gatherings
Key Ingredient Insights
The choice of dark chocolate is crucial for achieving the rich flavor of these lava cakes. I recommend using chocolate with a cocoa percentage between 60% to 70%, as this range strikes the perfect balance between sweetness and bitterness. Brands like Ghirardelli or Callebaut work wonderfully. If you prefer a less intense flavor, opt for a chocolate that is closer to 60%. Just remember that the quality of your chocolate directly affects the final taste, so choose something you’d enjoy eating on its own.
Butter not only provides moisture but also contributes to the cake’s texture, creating a soft, melt-in-your-mouth experience. Unsalted butter is preferred here, as it allows you to control the saltiness of the batter. If you're in a pinch, you can substitute with a neutral oil, but the flavor profile will differ. Keep in mind that while oil will retain moisture, it won't enhance the richness quite like butter does.
Perfecting Your Technique
When melting the chocolate and butter, patience is key. Heat in 30-second intervals to prevent scorching. Chocolate can easily seize or become grainy if overheated, ruining the texture of your cakes. If you find your mixture isn't smooth after heating, you can add a teaspoon of vegetable oil to help emulsify it back together. Stirring well between each interval ensures even melting.
Folding in the flour and salt should be done gently to avoid overmixing, which can develop gluten and result in a tougher cake than desired. Aim for a smooth batter with no visible streaks of flour—taking care at this stage ensures your lava cakes will have that coveted gooey center. If you see small lumps, they’re usually fine as they will bake out.
Serving and Storage Tips
These lava cakes are best served immediately after baking, as they maintain their gooey center when warm. However, if you wish to prepare them in advance, you can assemble the batter in the ramekins, cover with plastic wrap, and store them in the refrigerator for up to 24 hours. Just remember to increase baking time by a minute or two if baking straight from the fridge.
For a delightful serving suggestion, pair your lava cakes with a scoop of vanilla ice cream or a dollop of fresh whipped cream. The cold creaminess contrasts beautifully with the warm, molten chocolate, enhancing the overall experience. You could also sprinkle some sea salt on top for an unexpected flavor twist that amplifies the chocolate’s richness.
Ingredients
Gather the following ingredients to make your Dark Chocolate Lava Cakes.
Ingredients
- 1/2 cup unsalted butter
- 1 cup dark chocolate (60-70% cocoa), chopped
- 2 large eggs
- 2 large egg yolks
- 1/2 cup granulated sugar
- 1 teaspoon vanilla extract
- 1/4 cup all-purpose flour
- Pinch of salt
Ensure that all ingredients are at room temperature before starting for the best results.
Instructions
Follow these steps to create your delicious Dark Chocolate Lava Cakes.
Preheat the Oven
Preheat your oven to 425°F (220°C). Grease four ramekins with butter and lightly dust with flour, tapping out any excess.
Melt Chocolate and Butter
In a medium microwave-safe bowl, combine the butter and chopped dark chocolate. Heat in the microwave in 30-second intervals until melted and smooth, stirring between each interval.
Mix the Eggs
In another bowl, whisk together the eggs, egg yolks, granulated sugar, and vanilla extract until light and fluffy.
Combine Mixtures
Pour the melted chocolate mixture into the egg mixture and stir until combined. Gently fold in the flour and salt until just combined.
Fill Ramekins
Distribute the batter evenly among the prepared ramekins, filling them about 3/4 full.
Bake
Bake in the preheated oven for 12 minutes, or until the edges are firm but the center is still soft.
Cool and Serve
Remove the cakes from the oven and let them cool for 1 minute. Carefully run a knife around the edges before inverting onto dessert plates. Serve immediately with ice cream, if desired.
Enjoy your deliciously rich and gooey lava cakes!
Pro Tips
- For an extra touch, add a teaspoon of espresso powder to the melted chocolate mixture for enhanced flavor.
Gooey Center Troubleshooting
The key to achieving that perfect molten center lies in timing. If your cakes are baked too long, the center may set, leading to a disappointing dry texture. Ideally, you want to pull them out of the oven when the edges are firm but the middle still looks slightly soft and jiggly. If they come out too runny, experiment with adding an extra minute to your bake time next round.
If you consistently find that your lava cakes are undercooked in the center, ensure your oven is calibrated correctly. An oven thermometer can help you determine if your temperature settings are accurate. Alternatively, you can try baking with the top rack slightly closer to the heating element if you prefer a more evenly cooked cake.
Flavor Variations
Experimenting with flavors can elevate your lava cakes to new heights. Adding a teaspoon of espresso powder to the melted chocolate enhances the chocolate flavor without an overwhelming coffee taste. For a fruity twist, you might incorporate a tablespoon of raspberry puree into the center before baking. The tartness of the raspberry will beautifully complement the dark chocolate richness.
Spices can also be an exciting addition. Try incorporating a pinch of cinnamon or a drop of peppermint extract to the batter for unique flavor profiles. Just be cautious with the quantities—start small and adjust to your taste preferences!
Questions About Recipes
→ Can I make these cakes in advance?
Yes! You can prepare the batter and store it in the ramekins in the refrigerator for up to 24 hours. Just add a couple of extra minutes to the baking time.
→ What if I don't have ramekins?
You can use muffin tins or any oven-safe small cup; just adjust the baking time accordingly.
→ Can I make these gluten-free?
Absolutely! Substitute the all-purpose flour with a gluten-free flour blend.
→ How do I know when they are done?
The edges should be set, while the center should still jiggle slightly when you gently shake the ramekin.
Dark Chocolate Lava Cakes
Created by: Imogen Walker
Recipe Type: Sweet Creations Co.
Skill Level: Easy
Final Quantity: 4 servings
What You'll Need
Ingredients
- 1/2 cup unsalted butter
- 1 cup dark chocolate (60-70% cocoa), chopped
- 2 large eggs
- 2 large egg yolks
- 1/2 cup granulated sugar
- 1 teaspoon vanilla extract
- 1/4 cup all-purpose flour
- Pinch of salt
How-To Steps
Preheat your oven to 425°F (220°C). Grease four ramekins with butter and lightly dust with flour, tapping out any excess.
In a medium microwave-safe bowl, combine the butter and chopped dark chocolate. Heat in the microwave in 30-second intervals until melted and smooth, stirring between each interval.
In another bowl, whisk together the eggs, egg yolks, granulated sugar, and vanilla extract until light and fluffy.
Pour the melted chocolate mixture into the egg mixture and stir until combined. Gently fold in the flour and salt until just combined.
Distribute the batter evenly among the prepared ramekins, filling them about 3/4 full.
Bake in the preheated oven for 12 minutes, or until the edges are firm but the center is still soft.
Remove the cakes from the oven and let them cool for 1 minute. Carefully run a knife around the edges before inverting onto dessert plates. Serve immediately with ice cream, if desired.
Extra Tips
- For an extra touch, add a teaspoon of espresso powder to the melted chocolate mixture for enhanced flavor.
Nutritional Breakdown (Per Serving)
- Calories: 380 kcal
- Total Fat: 26g
- Saturated Fat: 15g
- Cholesterol: 195mg
- Sodium: 85mg
- Total Carbohydrates: 32g
- Dietary Fiber: 3g
- Sugars: 24g
- Protein: 6g